
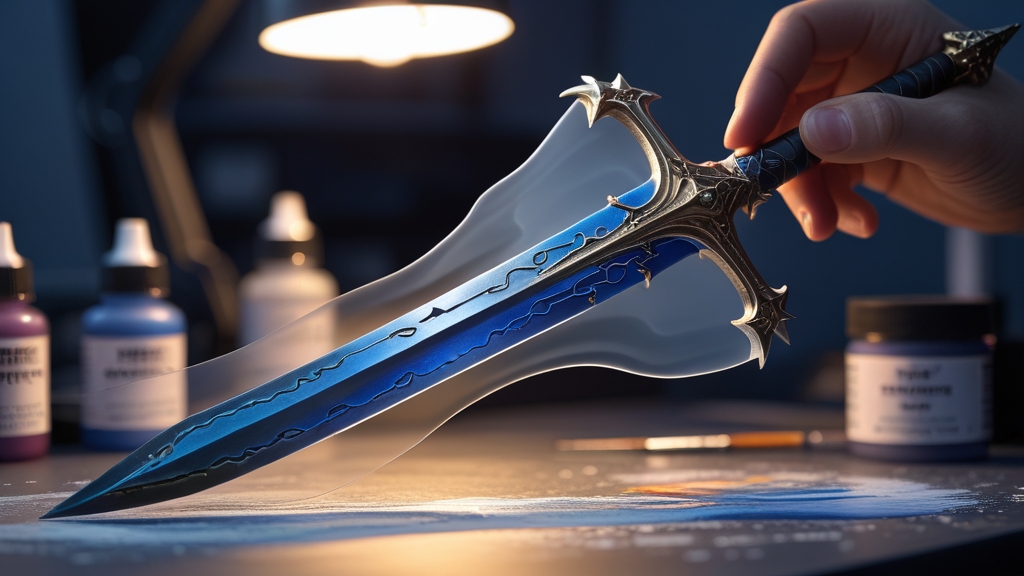
Glazing is applying a very thin, transparent layer of paint over a dried surface to shift its colour without obscuring the underlying work. Think of it like putting coloured glass over a painting — the detail, highlights, and shadows all show through, but the overall colour changes.
Glazing is one of the most versatile techniques in miniature painting, yet it is often misunderstood or overlooked by beginners. Where layering adds opaque colour and washing adds shadow, glazing adds transparent colour shifts that can unify a model’s tones, smooth rough transitions, warm or cool areas selectively, and create effects that no other technique can achieve.
This tutorial covers everything from making a glaze to practical applications on your Warhammer models.
What Makes a Glaze Different from a Wash?
Washes and glazes are both thin paints, but they behave completely differently:
- Washes flow into recesses due to their formulation (flow improver, low surface tension). They pool in gaps and crevices, creating shadows. A wash applied to a flat surface creates uneven coverage and coffee staining
- Glazes are designed to coat a surface evenly, like a transparent film. They do not pool or run into recesses (when applied correctly). A glaze applied to a flat surface creates a smooth, even colour tint across the entire area
The key difference is application: washes are flooded on and left to settle; glazes are brushed on in controlled, even strokes with minimal paint on the brush.
How to Make a Glaze
A glaze is simply paint thinned to near-transparency. There are several ways to achieve this:
Method 1: Paint + Water (Simple)
Mix roughly 1 part paint to 4-5 parts water. The result should be barely tinted water — when you brush it on your thumbnail, it should leave only a faint colour trace. This method works but has limitations: too much water breaks down the paint’s binder, causing beading and poor adhesion. Best for one or two glazes, not extensive glazing sessions.
Method 2: Paint + Acrylic Medium (Recommended)
Mix paint with Lahmian Medium (Citadel), Glaze Medium (Vallejo), or any acrylic medium at a ratio of roughly 1:4 to 1:6. The medium thins the paint without breaking the binder — the glaze flows smoothly, adheres well, and dries to a proper finish. This is the preferred method for serious glazing work.
Method 3: Contrast Medium
Citadel Contrast Medium mixed with regular paint creates an excellent glaze. The medium is specifically designed to carry pigment in a transparent film. Use the same 1:4 to 1:6 ratio. Some painters prefer Contrast Medium over Lahmian because it has slightly better flow properties.
Method 4: Pre-made Glazes
Some paint ranges include pre-made glazes (Citadel used to sell dedicated Glaze paints, now discontinued but replaceable with thinned Layer paints). Contrast paints applied very thinly can also function as glazes over established work, though they tend to pool more than purpose-mixed glazes.
How to Apply a Glaze
- Load your brush lightly — Dip into the glaze mix and wick off most of the liquid on paper towel. Your brush should be barely damp, not dripping
- Apply in one direction — Brush the glaze across the surface in smooth, even strokes going in one direction. Don’t scrub back and forth
- Work quickly — Cover the area before the leading edge dries. If part of the glaze dries before you finish, you will get a tide mark (similar to wash coffee staining)
- Let it dry completely — Each glaze layer must dry fully before applying the next. Glazes dry faster than normal paint due to their thinness — usually 5-10 minutes
- Build up gradually — One glaze will have a subtle effect. Two or three build a more pronounced colour shift. Apply as many as needed, but assess between each one
Applications of Glazing
Smoothing Layer Transitions
If your layering shows visible steps between colours, glazing over the transitions can soften them. Mix a glaze from the midtone colour and apply it across the boundary between two layers. The transparent pigment fills in the visual gap, making the transition appear smoother. This is the most common use of glazing — it is essentially a correction technique that turns decent layering into great layering.
Colour Shifting
Want to push a blue area toward purple without repainting? Glaze red over it. Want to warm up shadows? Glaze brown. Want to cool highlights? Glaze blue. Glazing lets you adjust the colour of finished areas without losing any of the work underneath — the highlights, shadows, and details all remain visible through the transparent colour film.
Tinting Shadows
Instead of using a black or brown wash for shadows, glaze a complementary colour into the recesses. Red shadows on green surfaces, purple shadows on yellow, blue shadows on orange. These coloured shadows are more visually interesting than neutral ones and are a hallmark of advanced painting.
Unifying Colour Across a Model
After painting different areas in different colours, a thin glaze over the entire model (or large sections) can unify the colour temperature. A warm brown glaze over an entire model makes it feel like it is lit by firelight. A cool blue glaze creates a moonlit or magical atmosphere.
Creating Glow Effects
Glazing a bright colour around light sources (plasma coils, eyes, magical weapons) creates the illusion of object-source lighting (OSL). Build up thin glazes of the glow colour, concentrated nearest the light source and fading to nothing as you move away. Because each glaze is transparent, the effect is subtle and believable.
Enhancing Metallics
Glazing over metallic paint changes the metal’s apparent colour while preserving the reflective quality. Glaze yellow over silver for gold. Glaze blue over silver for magical steel. Glaze red over gold for a warm copper tone. This is faster than painting with coloured metallic paints and often produces better results.
Common Glazing Mistakes
- Too much paint on the brush — The most common error. Excess glaze pools and creates tide marks. Always wick your brush on paper towel before applying
- Glaze too thick — If the glaze noticeably changes the colour in one coat, it is too concentrated. Add more medium. A single glaze should create only a subtle shift
- Brushing back and forth — Scrubbing creates uneven application and disturbs semi-dry areas. Use single-direction strokes
- Not letting glazes dry — Applying a second glaze over a semi-dry first glaze lifts the first layer and creates mess. Wait 5-10 minutes between coats
- Expecting immediate results — Glazing is a gradual process. If you can’t see the effect after one coat, that is normal. Apply two or three more. Subtlety is the point
Glazing Over Different Surfaces
Over Basecoats
Glazing over a flat basecoat can add visual interest by shifting areas toward warm or cool tones. This works well on large surfaces like vehicle panels or monster skin where you want colour variation without hard edges.
Over Washes
Applying a coloured glaze over a washed surface can change the shadow tone without losing the recess-defining effect of the wash. Glaze blue over a Nuln Oil wash for cold shadows, or glaze red over Agrax Earthshade for richer warm shadows.
Over Highlights
Glazing a bright colour over highlighted areas creates a saturated highlight that looks more vivid than simply using a lighter paint. Glaze yellow over a bone highlight for a warm, glowing highlight on gold armour, for example.
Over Metallics
As mentioned above, glazing transforms the colour of metallic paint while keeping the metallic sheen. Apply glazes in thin layers, building up the colour gradually. Thick application over metallics tends to kill the reflective quality.
How Many Glazes Should You Apply?
There is no fixed number — it depends on how much colour shift you want. Each glaze is incremental. For subtle tinting (warming shadows, cooling highlights), one to three glazes is usually sufficient. For significant colour changes (turning silver into coloured metal, creating strong OSL effects), five to ten glazes may be necessary. Build up gradually, assess between each coat, and stop when you achieve the desired effect.
What Is the Best Medium for Glazing?
Lahmian Medium (Citadel) and Vallejo Glaze Medium are the most popular choices specifically designed for this purpose. They thin paint without breaking the acrylic binder, maintain good flow, and dry to an appropriate finish. Generic acrylic medium from art supply stores (Liquitex, Golden, Daler-Rowney) works equally well and is often cheaper in larger quantities. Avoid using only water for heavy glazing work — water dilutes the binder and can cause adhesion problems with many successive layers.
Can You Glaze with Contrast Paints?
Contrast paints can be used as glazes when thinned with Contrast Medium, but they behave differently from purpose-mixed glazes. Contrast paints contain more flow improver, so they tend to migrate toward recesses even when applied as a glaze. This can be useful (adding coloured tint that is strongest in shadows) or problematic (uneven coverage on flat surfaces). For controlled, even glazing, purpose-mixed glazes from regular paint plus medium produce more predictable results.
Is Glazing the Same as Thin Layering?
They are related but different in intent. Thin layering applies a translucent coat to build up highlight colour on specific areas — you are adding colour to make something lighter or change its hue through layered opacity. Glazing applies transparent colour across an area to modify the existing paint — you are tinting what is already there rather than replacing it. The brush technique is also different: layering is applied to specific targeted areas, while glazing is typically swept across larger surfaces.
Frequently Asked Questions
Do I need special brushes for glazing?
No special brushes are required. A standard size 1 or size 2 round brush works well. The key is to wick off excess liquid on paper towel before applying — the brush should be barely damp, not loaded with liquid. A soft-bristled brush helps apply glaze more evenly than a stiff one.
Can I glaze over matte varnish?
Yes, but be aware that matte varnish creates a slightly porous surface that absorbs glaze differently than bare paint. The glaze may appear slightly more intense over matte-varnished surfaces. Test on a hidden area first. Gloss varnish provides a smoother surface for glazing, which is why some painters apply gloss before glazing and matte afterward.
How is glazing different from Contrast paint?
Contrast paints are a self-shading system designed to go over white or light primer and create basecoat plus shadow in one step. Glazes are transparent layers designed to modify existing paint work. Contrast paints pool in recesses by design; glazes coat evenly. You might use Contrast for quick basecoating and glazing for refining and colour-shifting afterward — they serve different purposes in the painting workflow.
What colours work best for glazing?
Any colour works for glazing, but some are more commonly used than others. Yellow and red glazes warm surfaces. Blue and purple glazes cool them. Green glazes add sickly or ethereal tones. Use the colour theory basics: complementary colours create muted tones, analogous colours intensify existing tones.
Is glazing necessary for good miniatures?
Not at all. Glazing is an advanced technique that refines and enhances other methods. Excellent miniatures can be painted entirely with basecoating, washing, and layering. Glazing becomes relevant when you want to push quality beyond standard tabletop — for display pieces, competition entries, or models where you want that extra level of colour richness and blending smoothness.
Which Citadel paints used to be glazes?
Citadel once sold four dedicated Glaze paints: Bloodletter (red), Lamenters Yellow, Waywatcher Green and Guilliman Blue. They’ve been discontinued, so most painters now make glazes by thinning Layer paints with Lahmian Medium or Contrast Medium, as described above. Some old pots still turn up second-hand.
Can you glaze with an airbrush?
Yes. An airbrush is naturally good at putting down thin, transparent layers, so very thin paint sprayed at low pressure works just like a brushed glaze. It’s especially useful for tinting large areas such as vehicle panels or monster skin, and for building smooth glow effects. Keep the paint thin and build it up in several light passes.
What is the difference between a glaze and a filter?
A filter is essentially a glaze applied over a whole model, a term borrowed from scale-model tank painting. Filters are often made from very thin oil or enamel paint and used to shift the overall colour of a vehicle or add subtle tonal variation. A glaze is usually acrylic and more targeted, but both work by laying down transparent colour.
Related Content
- What Is Warhammer 40k — introduction to the Warhammer 40K universe
- Warhammer Painting for Beginners — Everything You Need — essential painting guide for new hobbyists
- How Does Morale Work in Warhammer 40k? — Battle-shock Explained — related content on a similar topic
- What Are Stratagems in Warhammer 40k? — Rules Guide — related content on a similar topic