
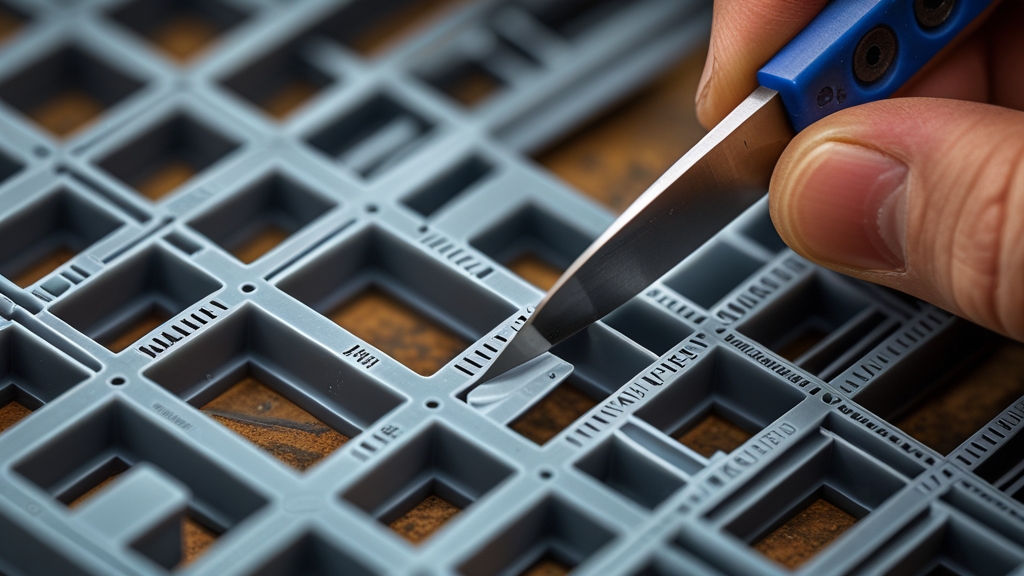
Green Stuff (Kneadatite) is a two-part epoxy sculpting putty used to fill gaps, sculpt custom details, and convert miniatures. Mix equal parts yellow and blue, wet your tools with water to prevent sticking, and you have about 1-2 hours of working time before it cures rock-hard. It’s the most versatile sculpting material in the miniature hobby.
Whether you’re filling the gaps between poorly fitting components, sculpting a custom fur cloak for your Space Wolf character, or converting a model into something entirely new, Green Stuff is the tool for the job. Every serious hobbyist uses it, and learning the basics opens up a world of customisation possibilities for your miniatures.
This guide covers everything from mixing and basic gap-filling to sculpting techniques for custom details, plus alternatives for specific applications.
What Is Green Stuff?
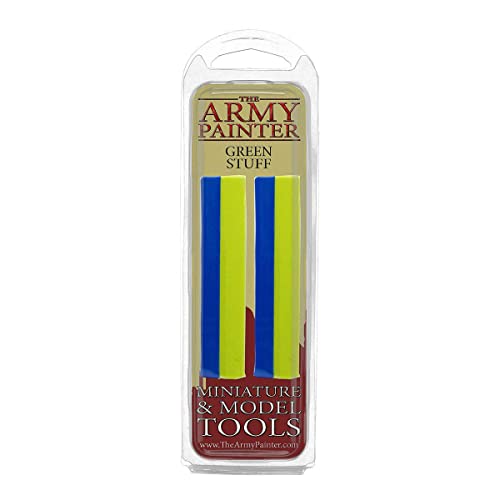
Green Stuff is the hobby name for Kneadatite, a two-part epoxy putty made by Polymeric Systems. It comes as a strip of two colours — blue and yellow — separated by a thin layer. When you mix the two parts together, they form a green putty that cures to a hard, sandable, paintable solid over 4-8 hours.
Key Properties
- Working time: 1-2 hours after mixing (longer in cool conditions, shorter in warm conditions)
- Cure time: 4-8 hours to full hardness at room temperature
- Texture when fresh: Soft, elastic, slightly sticky — similar to chewing gum
- Texture when cured: Hard, slightly flexible, can be sanded and drilled
- Adhesion: Bonds well to plastic, resin, metal, and previously cured Green Stuff
- Paintability: Accepts primer and acrylic paint perfectly once fully cured
How to Mix Green Stuff
Step 1: Cut Equal Portions
Use a sharp hobby knife to cut equal lengths of the yellow and blue strips. Important: cut away and discard the thin strip where the two colours meet — this junction strip has partially cured from contact and won’t mix properly. It can cause lumps and inconsistencies in your putty.
Step 2: Knead Together
Roll and fold the two portions together between your fingers until the colour is uniformly green with no streaks of yellow or blue. This typically takes 30-60 seconds of kneading. If you see any colour streaks, keep kneading — unmixed putty won’t cure properly.
Step 3: Wet Your Tools
Green Stuff sticks to everything — fingers, tools, work surfaces. Dip your fingers and sculpting tools in water before handling the putty. Some sculptors prefer using petroleum jelly (Vaseline) or chapstick on their tools for an even more non-stick surface. Keep a small pot of water nearby and re-wet regularly.
Adjusting the Mix Ratio
Varying the yellow-to-blue ratio changes the putty’s properties:
- More yellow — Softer, stickier, more flexible when cured. Better for organic shapes (fur, tentacles, skin).
- More blue — Firmer, less sticky, harder when cured. Better for hard edges (armour plates, geometric shapes).
- Equal mix (standard) — Balanced properties suitable for all-purpose use.
How to Fill Gaps with Green Stuff
Gap filling is the most common use of Green Stuff and the easiest technique to learn:
When Do You Need to Fill Gaps?
Gaps appear where two model components join — shoulder to torso, arms to body, cloaks to shoulders, heads to necks. Some kits fit perfectly with no gaps; others (especially multi-part kits, conversions, and resin models) leave visible seams that need filling.
Step-by-Step Gap Filling
- Assemble the model first — Glue the components together and let the glue cure completely before filling gaps.
- Mix a small amount of Green Stuff — You need less than you think. For a typical gap on an infantry model, a piece the size of a match head is usually sufficient.
- Press putty into the gap — Using a wetted sculpting tool or the flat of a damp hobby knife blade, push the Green Stuff firmly into the gap. Ensure it fills the entire depth of the gap with no air pockets.
- Smooth the surface — Using a wet sculpting tool, smooth the putty level with the surrounding surface. Wipe the tool frequently and re-wet it. The smoother you get it now, the less sanding you’ll need later.
- Let it cure — Wait at least 4 hours (overnight is safer) before touching, sanding, or priming.
- Sand if needed — Once cured, sand any rough areas with 400-600 grit sandpaper. Green Stuff sands well when fully cured.
Essential Sculpting Tools
You can work Green Stuff with just a wet hobby knife, but dedicated sculpting tools make everything easier:
Clay Shapers (Colour Shapers)
Rubber-tipped tools that smooth and shape Green Stuff without sticking. Available in various tip shapes (flat, round, pointed, chisel). A size 0 or 2 clay shaper is the single most useful Green Stuff tool you can buy. They don’t need to be wetted — the rubber surface naturally resists sticking.
Metal Sculpting Tools
Stainless steel tools with various shaped tips — flat spatulas, curved blades, pointed tools, and ball-ended burnishers. These are better for pressing detail into the putty and creating sharp edges. Need to be kept wet to prevent sticking.
Dental Tools
Old or surplus dental tools are excellent for sculpting — they’re stainless steel, precisely shaped, and designed for working with small materials. You can buy packs of dental sculpting tools on Amazon for £5-10.
Needle and Pin
A simple sewing needle set in a pin vice creates fine lines, rivets (by pressing the blunt end), and tiny details. Essential for fur, hair, and scale textures.
To get started you need three things: the putty, a set of metal sculpting tools and one small rubber-tipped clay shaper.
Price details
Product prices and availability are accurate as of the date/time indicated and are subject to change. Any price and availability information displayed on Amazon.com at the time of purchase will apply to the purchase of this product.As an Amazon Associate, Warhammer Guild earns from qualifying purchases.

Price details
Product prices and availability are accurate as of the date/time indicated and are subject to change. Any price and availability information displayed on Amazon.com at the time of purchase will apply to the purchase of this product.As an Amazon Associate, Warhammer Guild earns from qualifying purchases.

Price details
Product prices and availability are accurate as of the date/time indicated and are subject to change. Any price and availability information displayed on Amazon.com at the time of purchase will apply to the purchase of this product.As an Amazon Associate, Warhammer Guild earns from qualifying purchases.
Basic Sculpting Techniques
Sculpting Fur and Hair
- Apply a thin layer of Green Stuff where you want the fur/hair (e.g., a Space Wolf’s cloak, a Beastman’s shoulders).
- Let the putty firm up for 15-20 minutes — fresh putty is too soft for texture work.
- Using a sharp tool (needle, hobby knife tip, or pointed sculpting tool), drag lines through the putty in the direction of hair growth.
- Vary the depth, direction, and spacing of lines for a natural look. Real fur isn’t perfectly uniform.
- Work from the bottom of the fur upward, so each new row of lines slightly overlaps the previous one.
Sculpting Cloaks and Tabards
- Roll out a thin sheet of Green Stuff (1-2mm thick) on a wet surface. Use a wet rolling pin (or a smooth round bottle) to flatten evenly.
- Let the sheet firm up for 10-15 minutes until it’s flexible but not floppy.
- Drape the sheet over or around the model where you want the cloak. Press gently to adhere to the model’s surface.
- Create folds by gently pinching and pushing the putty into natural-looking fabric creases.
- Trim excess material with a sharp blade while the putty is still slightly soft.
- Smooth the edges with a wet tool to blend into the model.
Sculpting Tentacles and Ropes
- Roll a thin sausage of Green Stuff between wet fingers (or between your finger and a wet surface for more control).
- Twist the sausage gently for a rope effect, or leave it smooth for a tentacle.
- Press one end onto the model where you want it to emerge. Curl and position the rest naturally.
- For suckers on tentacles, press the blunt end of a needle into the underside at regular intervals.
Making Rivets and Bolts
- Roll tiny balls of Green Stuff (1mm diameter or smaller).
- Place them on the model where you want rivets.
- Press down gently with a flat tool to adhere and slightly flatten.
- For bolt heads, press a hex-shaped tool (or the edge of a small screwdriver) into the flattened ball.
How Long Does Green Stuff Take to Cure?
Cure time depends on temperature and mix ratio:
- Room temperature (20-22°C): 4-8 hours to full hardness
- Warm conditions (25°C+): 2-4 hours — faster but less working time
- Cool conditions (15°C or below): 8-12 hours — more working time but slower
- Accelerated curing: Placing the model near (not on) a desk lamp provides gentle warmth that speeds curing without risk
The putty goes through stages during curing:
- 0-30 minutes: Soft and sticky — ideal for gap filling and rough shaping
- 30-90 minutes: Firmer, less sticky — ideal for detail work, textures, and fine sculpting
- 90 minutes-3 hours: Rubbery and firm — too hard for sculpting, can be cut with a blade for clean edges
- 4-8 hours: Fully cured — hard, sandable, ready for primer and paint
Green Stuff Alternatives
Milliput
A two-part epoxy putty that cures harder than Green Stuff and can be smoothed with water while uncured. Better for hard, geometric shapes (armour, building details, bases). Worse for organic shapes — it lacks Green Stuff’s elasticity. Can be mixed with Green Stuff for a hybrid putty (“Grey Stuff”) that combines the best properties of both.
Procreate (Grey Stuff)
A premium sculpting putty preferred by many professional sculptors. Less sticky than Green Stuff, holds sharp detail better, and has a more neutral texture. More expensive but considered superior for fine sculpting work. Not as widely available as Green Stuff or Milliput.
Liquid Green Stuff
A brush-on gap filler made by Citadel. Not actually Green Stuff — it’s an acrylic filler that dries by evaporation. Useful for filling very small gaps and pin holes but too thin for sculpting. Requires multiple layers for anything larger than a hairline gap. Convenient but limited in application.
Tamiya Putty
A solvent-based putty used primarily in scale modelling. Excellent for filling very small gaps and creating smooth surfaces. Dries by solvent evaporation, so it shrinks as it cures. Not suitable for sculpting — only gap filling. The fumes are strong; use in a ventilated area.
Frequently Asked Questions
How much Green Stuff do I need?
A standard tube of Kneadatite (36 inches / 91cm) lasts most hobbyists 6-12 months of regular use. For gap filling alone, a single tube will cover hundreds of models. For heavy conversion and sculpting work, you’ll use more. Green Stuff is also available in smaller quantities from hobby stores if you just want to try it.
Can I sculpt over cured Green Stuff?
Yes. Fresh Green Stuff bonds well to cured Green Stuff. This layering technique is essential for complex sculpts — build up shapes in stages, letting each layer cure before adding the next. Professional miniature sculptors work in dozens of layers over days or weeks.
Why does my Green Stuff keep sticking to my tools?
You’re not wetting your tools enough. Dip tools in water every 10-15 seconds. If water alone isn’t enough, use a thin layer of petroleum jelly on your tools. Also, freshly mixed Green Stuff is stickier than putty that’s been sitting for 15-20 minutes. Wait until it firms up slightly before doing detail work.
Can I speed up curing?
Yes. Place the model in a warm (not hot) location — near a desk lamp, on top of a warm (switched-off) oven, or in sunlight. Don’t use a hair dryer or heat gun directly — excessive heat can cause bubbling and warping. A temperature of 30-35°C will roughly halve curing time.
Is Green Stuff safe to handle?
Green Stuff is generally considered safe for skin contact during normal hobby use. However, some people develop sensitivity to epoxy products over time. If you notice skin irritation, wear nitrile gloves. Don’t eat Green Stuff (obviously), and wash your hands after use. Once fully cured, it’s completely inert and safe to handle indefinitely.
Can I use Green Stuff to reposition model parts?
Green Stuff can act as both an adhesive and a structural support for repositioned limbs. Apply it where the joint meets, position the limb, and support it until the putty cures. It’s stronger than super glue for repositioning because it fills gaps and provides structural bulk. Pin the joint as well (drill a hole and insert a wire pin) for maximum strength.
Does Green Stuff go off or expire?
Yes, slowly. Unmixed Green Stuff gradually hardens, starting along the strip where the yellow and blue touch. Kept sealed in a bag somewhere cool, a strip usually stays workable for many months, and some hobbyists keep it in the fridge to slow it down further. If it turns crumbly or won’t blend smoothly, it’s past its best for sculpting.
Can you copy details with Green Stuff?
Yes, with a press mould. Soften a reusable moulding material such as Blue Stuff (Instant Mold) in hot water, press the detail you want into it, such as a shoulder pad icon, and let it set. Then push fresh Green Stuff into the mould, leave it to cure and pop out the copy. It’s ideal for repeating icons, studs and trim across a unit.
Related Content
- Warhammer Painting for Beginners — Everything You Need — start with painting fundamentals
- Best Paints for Warhammer — Complete Comparison Guide — choose the right paints for your models
- How to Paint Vehicles — Tank Guide — learn a related painting technique