
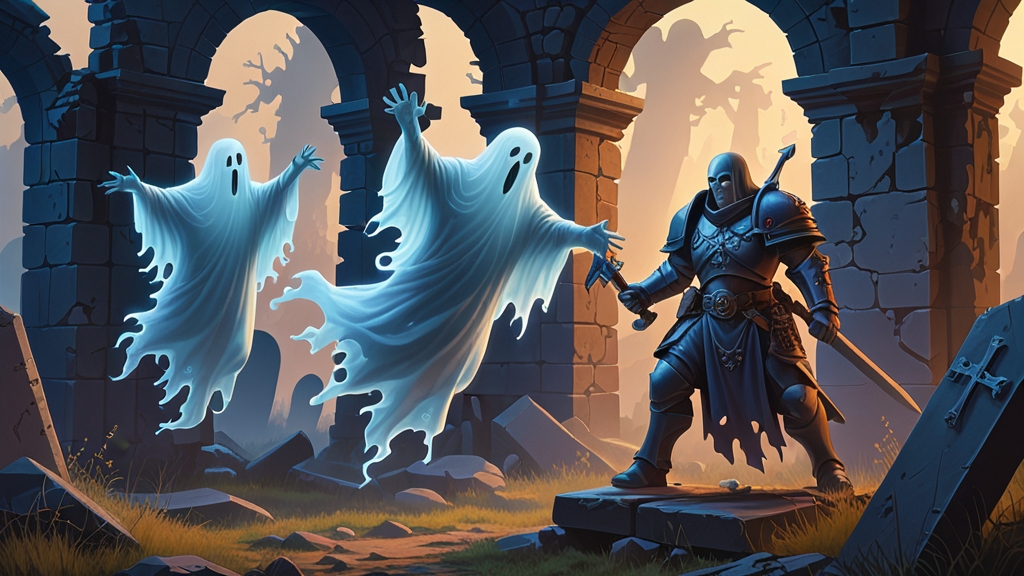
Part of our Nighthaunt hub: every Nighthaunt guide, lore page and painting tutorial in one place.
Learning how to paint Nighthaunt is mostly about one effect: pale, glowing spirits set against dark, heavy metal. Once you can make the ghostly parts look like they give off their own light, the rest of the army is straightforward. This guide covers the paints you need, a step-by-step recipe for the classic pale blue-green spirit scheme, a few alternative spirit colours with actual paint recipes, and tips for fast tabletop painting.
Essential Paints and Tools for Nighthaunt
Nighthaunt models split into two kinds of surface: the spirit (robes, bodies, trailing ethereal wisps) and the physical stuff they carry (chains, shackles, blades, lanterns, keys and bronze fittings). The paint list below follows that split.
Citadel Paint List
- Primer: Grey Seer (or Wraithbone) spray
- Spirit (Contrast route): Nighthaunt Gloom
- Spirit (classic route): Celestra Grey base, Coelia Greenshade wash
- Spirit highlights: Ulthuan Grey drybrush, White Scar on the sharpest edges
- Optional glow glaze: Hexwraith Flame (Technical), thinned, on the lower robes and wisps
- Iron and chains: Leadbelcher, Nuln Oil, Stormhost Silver; Typhus Corrosion and Ryza Rust for rust
- Bronze fittings: Warplock Bronze or Balthasar Gold, Nihilakh Oxide for verdigris
- Wood: Mournfang Brown, Agrax Earthshade, Baneblade Brown
- Basing: Astrogranite Debris (Technical), Nuln Oil, Abaddon Black or Steel Legion Drab rim
Recommended Tools
- Brushes: A Size 1 Layer brush for detail work, a Medium Base brush for larger areas, and a Medium Dry brush for drybrushing (you will drybrush a lot with this army)
- Palette: A wet palette keeps paints workable for longer sessions, which helps with thinned glazes
- Water pot: Two pots, one for rinsing and one with clean water for thinning paints
- Hobby knife and clippers: For cleaning mould lines before you prime
- Plastic glue or super glue: Depending on whether you are working with push-fit or multi-part kits
Step-by-Step Painting Guide: Classic Nighthaunt Scheme
This recipe gives the familiar pale blue-green spirits with dark iron and aged bronze. We will use Chainrasp Horde and Spirit Hosts as reference models, but it works across the whole range, from Grimghast Reapers and Glaivewraith Stalkers to the Knight of Shrouds.
Step 1: Preparation and Priming
Assemble your miniatures and clean mould lines with a hobby knife. Nighthaunt kits have lots of thin, flowing wisps and chains, so cut parts from the sprue carefully and scrape mould lines rather than sanding them. Where a model has a separate weapon or lantern, consider leaving it off until after the spirit areas are painted.
Prime with Grey Seer. Spray in short bursts from roughly 20 to 30 cm away, rotating the model between passes, and let it dry fully. A light primer is important here: the glow effect depends on the spirit areas finishing much lighter than everything else.
Step 2: The Spirit Colour
Choose one of two routes for the robes and ghostly bodies:
- Contrast route (fastest): apply Nighthaunt Gloom straight over the Grey Seer. It was made for this army and shades the folds for you. Avoid going back over areas that have started to dry, or you will get tide marks.
- Classic route: basecoat the spirit areas with Celestra Grey in two thin coats, then wash with Coelia Greenshade, letting it pool in the folds of the robes.
Let this dry completely (15 to 20 minutes at least) before drybrushing, otherwise you will lift the shade back off.
Step 3: Drybrush and Highlight the Spirit
Give the spirit areas a fairly heavy drybrush of Ulthuan Grey, concentrating on the upper folds of the robes, hoods, skeletal hands and faces. Then, with a lighter touch, drybrush or edge highlight the very top edges and the tips of trailing wisps with White Scar.
Nighthaunt have no muscles or skin to speak of, so think in terms of cloth and bone: the brightest points are hoods, shoulders, skulls, knuckle bones and the ragged ends of robes. Many painters also make the spirit fade as it goes down the model, keeping the upper body bright and letting the lower wisps stay darker and more transparent-looking.
Step 4: Optional Glow Glaze
For a stronger otherworldly look, thin Hexwraith Flame with a little Lahmian Medium or water and glaze it over the lower robes and wisps. It shifts them towards a vivid spectral green while the upper body stays pale. Keep it thin and apply it in one pass; it is a very strong colour.
Step 5: Metals, Chains and Details
Keep the physical objects dark so the spirits stand out. For iron (blades, chains, shackles, keys), base with Leadbelcher, wash with Nuln Oil, and highlight the cutting edges with Stormhost Silver. For an older, heavier look, stipple Typhus Corrosion into the recesses and add a few spots of Ryza Rust.
For bronze fittings, base with Warplock Bronze or Balthasar Gold, then add Nihilakh Oxide into the recesses for verdigris. Wooden hafts and handles can be painted with Mournfang Brown, washed with Agrax Earthshade, and highlighted with Baneblade Brown. Lanterns are a good place to try object source lighting if you want to push a hero further.
Step 6: Basing
Apply Astrogranite Debris to the base, wash with Nuln Oil, and drybrush lightly with a pale grey once dry. Paint the rim with Abaddon Black or Steel Legion Drab for a clean finish. Grey, gravestone-like bases suit the army and keep attention on the spirits.
Add tufts, small rocks or skulls if you like, but avoid bright green grass, which competes with the spirit colour. Dead-looking brown or grey tufts work well.
Alternative Spirit Colours for Nighthaunt
The same structure (light primer, coloured spirit, bright drybrush, dark metals) works with other spirit colours. Each of these uses the steps above with a different spirit colour in Steps 2 to 4:
- Vivid green ghosts: Celestra Grey base, Coelia Greenshade wash, Ulthuan Grey drybrush, then a full glaze of thinned Hexwraith Flame over the whole spirit and a final White Scar edge on the top folds.
- Purple ghosts: Shyish Purple (Contrast) over Grey Seer, drybrushed with Slaanesh Grey and then White Scar. Pairs well with brass rather than iron.
- Red ghosts: Blood Angels Red (Contrast) over Wraithbone, drybrushed with Wraithbone and then White Scar. Use plain dark iron for metals so the red stays the focus.
Whatever colour you choose, test it on one model first and keep the metals and bases dark. Without that contrast, any spirit colour reads as flat paint rather than light.
Speed Painting Nighthaunt for Tabletop Standard
Nighthaunt are one of the quickest Age of Sigmar armies to get table-ready, because the spirit areas are almost entirely Contrast plus drybrush.
Prime with Grey Seer, apply Nighthaunt Gloom to the spirit areas, then paint the metals with Leadbelcher and wash them with Nuln Oil. One Ulthuan Grey drybrush over the spirit and a simple base finishes the model. Batch paint 5 to 10 models at a time, applying the same colour to every model before moving on to the next. You can come back for White Scar edges, rust and glazes later.
Tips for Specific Nighthaunt Models
- Chainrasp Horde and Grimghast Reapers: large units with lots of chains. Paint the spirit first and the chains last, and keep the chains dark so the units don’t look busy.
- Spirit Hosts: several spirits merged together. Highlight the faces and hands brightest so the individual ghosts stay readable.
- Heroes (Knight of Shrouds, Guardian of Souls and others): worth the extra time on faces, lanterns and any OSL glow. Lady Olynder and the Black Coach make good centrepieces for the glaze technique.
Frequently Asked Questions
What primer should I use for Nighthaunt?
Grey Seer is the best choice for the classic pale blue-green spirit scheme, and Wraithbone works well for warmer spirit colours. A light primer matters with this army because the glow effect depends on the spirit areas ending up much brighter than the metals. Avoid a black primer unless you are deliberately going for a dark, shadowy scheme.
How long does it take to paint a Nighthaunt army?
It depends on army size and your experience, but Nighthaunt are quicker than most. With Contrast paints and batch painting, a unit of infantry can be done to tabletop standard in an evening or two, while heroes and big centrepieces like the Black Coach take several sessions if you add glazes and OSL.
Can I use Contrast paints for the entire Nighthaunt army?
Yes. Nighthaunt Gloom over Grey Seer is designed for exactly this. For the best results, combine it with a drybrush highlight on the spirit and traditional metallic paints for weapons and chains. That hybrid approach gives you speed without losing the contrast that makes the army look good on the table.
What are the best brushes for painting Nighthaunt?
A good drybrush matters more with Nighthaunt than with most armies, because drybrushing does most of the highlighting. Add a Size 1 detail brush for edge highlights and metals, a Size 0 or 00 for eyes and the finest details, and a Medium Base brush for large areas. A quality sable detail brush such as the Winsor and Newton Series 7 holds a sharp point far longer than synthetic alternatives.
How do I strip paint from Nighthaunt models if I make a mistake?
Soak plastic models in isopropyl alcohol (90 percent or higher) or a dedicated miniature paint stripper for 12 to 24 hours, then scrub gently with an old toothbrush under running water. This removes acrylic paint without damaging the plastic. For resin models, use a gentler solution like Simple Green. Always test on a spare part or sprue first if you are unsure, and take extra care with thin wisps and chains, which can snap while scrubbing.
Should I varnish my painted Nighthaunt models?
Yes, for any models you plan to game with. Munitorum Varnish spray or a brush-on matt varnish protects your paintwork from handling and transport. A matt finish also suits ghosts, as a satin or gloss sheen can make the spirit areas look plasticky rather than ethereal.
How do you make Nighthaunt look like they are glowing?
Contrast between light and dark sells the glow. Work over a light primer, use a coloured Contrast paint or wash on the spirit areas, then drybrush and highlight up towards white on raised areas and the trailing edges of robes. Keep metals, chains and bases darker so the ghostly parts stand out, and a thin glaze of the spirit colour on nearby surfaces adds light spill.
What colour should Nighthaunt metal and chains be?
Dark, aged metal works best. Base with Leadbelcher, wash with Nuln Oil and add rust or grime with Typhus Corrosion and Ryza Rust, so chains, lanterns and blades look ancient and heavy against the pale spirit areas. Bronze or verdigris is a good alternative if you want a little extra colour without competing with the ghostly glow.
Ready to explore more about this faction? Check out our Nighthaunt army guide for tactics, army lists and background to go with your newly painted army.
Related Content
- Warhammer Painting for Beginners — Everything You Need — essential painting guide for new hobbyists
- Best Paints for Warhammer — Complete Comparison Guide — recommended paints for Warhammer miniatures
- Object Source Lighting (OSL) — Complete Miniature Painting Guide — useful for Nighthaunt lanterns and glowing effects
- Drybrushing Tutorial — Fast Painting for Warhammer — the key technique for Nighthaunt spirits