
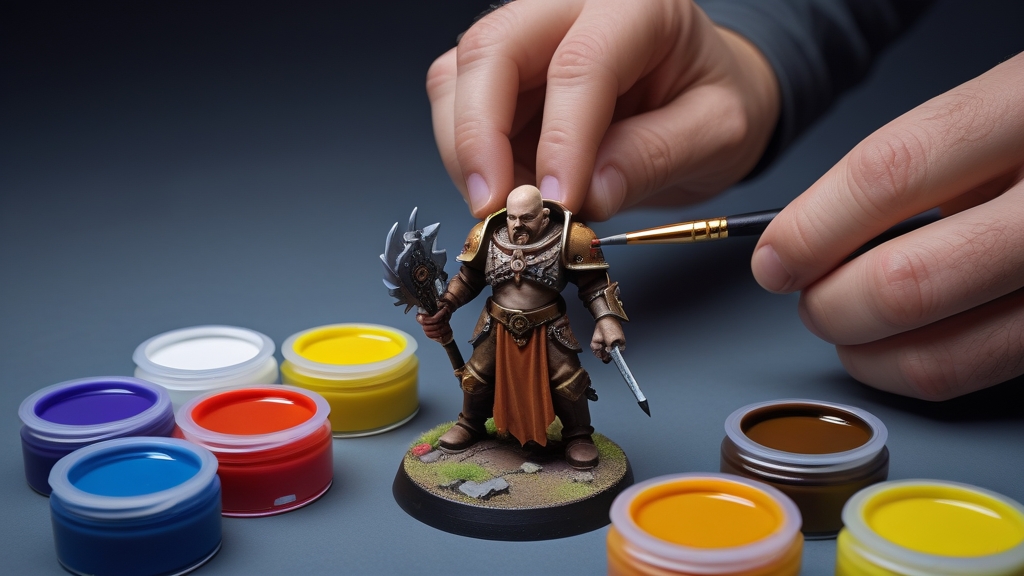
Layering is applying progressively lighter colours in smaller areas to build up smooth highlights on miniatures. Each layer covers less surface area than the last, creating a natural gradient from shadow to highlight that gives models depth and visual interest.
Layering sits at the heart of the classic miniature painting workflow. After basecoating and washing, layering is how you bring a model back to life — restoring brightness to raised areas and building up highlights that make every surface read clearly at tabletop distance. It is more controlled than drybrushing, more forgiving than blending, and produces consistently good results once you understand the core concept.
This guide covers the technique, colour selection, and how layering fits into the broader painting process.
How Layering Works
The core principle is simple: start with your largest area of colour (the basecoat), then progressively apply lighter colours over smaller and smaller areas. Each new layer goes only on the raised portions that would catch light, leaving the previous darker colour visible in the recesses and transitional zones.
Think of it like a topographic map. The basecoat covers everything (sea level). The first layer covers the hills. The second layer covers only the peaks. The result is a smooth graduation from dark (recesses) to light (raised areas) that creates the illusion of three-dimensional lighting on a small model.
The Layering Process Step by Step
Step 1: Basecoat
Apply your base colour evenly across the entire area. This is your shadow colour — the darkest tone in your gradient. Make sure coverage is smooth and even with two thin coats.
Step 2: Wash
Apply a wash to create deep shadows in recesses. Let it dry completely. The wash darkens the basecoat overall and creates strong contrast in gaps and crevices.
Step 3: Re-establish the Base (Optional but Recommended)
Apply your base colour again, but only on the raised areas — leaving the wash visible in recesses. This step cleans up the model and creates a clear divide between shadow and surface.
Step 4: First Layer
Take a colour one step lighter than your base. Apply it to the raised areas, covering perhaps 60-70% of each surface. Leave the basecoat and wash visible in the lower portions and around edges near recesses. Thin the paint properly — layers should be smooth and slightly translucent.
Step 5: Second Layer
Take an even lighter colour. Apply it to a smaller area — perhaps the top 30-40% of each surface. Focus on the areas that would catch the most light: upper edges, protruding surfaces, and raised details.
Step 6: Edge Highlight (Optional)
The finest highlight goes only on the very edges — the absolute peaks of the model. This is where layering meets edge highlighting, creating the final pop of contrast.
How Many Layers Do You Need?
For tabletop quality painting, two to three layers beyond the basecoat is the sweet spot:
- Speed painting (1 layer): Basecoat, wash, one highlight layer. Quick, effective, perfectly good for gaming. Gets armies painted and on the table
- Tabletop quality (2-3 layers): Basecoat, wash, re-establish base, first layer, second layer. This is the standard that wins painting competitions in the “tabletop” category. Looks excellent at arm’s length
- Display quality (4+ layers): Multiple gradual layers create almost seamless transitions. Time-intensive but produces gallery-worthy results. Each layer covers incrementally less area with incrementally lighter colour
More layers create smoother transitions but with diminishing returns. Going from 2 to 3 layers makes a big visual difference. Going from 6 to 7 layers is barely perceptible. Find the level that matches your goals and time budget.
Colour Selection for Layering
Each layer needs to be visibly lighter than the previous one, but not so much lighter that the transition looks jarring. The ideal step is about 20-30% lighter each time.
Games Workshop’s Citadel range is specifically designed with layering in mind. Each Base paint has corresponding Layer paints that step up in brightness:
- Blue: Macragge Blue → Altdorf Guard Blue → Calgar Blue → Fenrisian Grey
- Red: Mephiston Red → Evil Sunz Scarlet → Wild Rider Red → Fire Dragon Bright
- Green: Caliban Green → Warpstone Glow → Moot Green → Gauss Blaster Green
- Brown: Mournfang Brown → Skrag Brown → Deathclaw Brown → Ushabti Bone
- Bone: Zandri Dust → Ushabti Bone → Screaming Skull → Pallid Wych Flesh
You don’t need to own every colour in a range. Mixing a small amount of white, ivory, or a lighter tone into your base colour creates custom intermediate steps. This approach saves money and gives you more control over exactly how bright each step is.
Layering vs Drybrushing
Both techniques highlight raised areas, but they produce very different results:
- Layering produces smooth, clean highlights with precise control over where colour goes. It is slower but results are cleaner and more professional-looking
- Drybrushing uses a nearly dry brush scraped across the model to deposit paint on raised textures. It is much faster but creates a chalky, textured finish that works well on rough surfaces (fur, chainmail, rock) but poorly on smooth ones (armour plates, cloaks)
Many painters combine both: drybrush organic textures and terrain, layer armour and focal areas. This balances speed and quality across a whole model.
Layering vs Blending
Layering creates distinct steps of colour that the eye perceives as a gradient at distance. Wet blending and feathering create actual smooth gradients on the model surface. The difference is visible up close — layering shows faint “steps” between colours, while blending is seamless.
At tabletop distance (arm’s length), properly executed layering is virtually indistinguishable from blending. It is the more forgiving technique because each layer can be corrected individually, while blending must be done while paint is wet and cannot easily be adjusted.
Citadel Layer Paints: What Makes Them Different
Games Workshop labels certain paints as “Layer” paints (as opposed to “Base” paints). The key differences:
- Lower pigment density — Layer paints are more translucent, allowing the colour beneath to influence the final appearance. This helps create smooth transitions
- Thinner consistency — They flow more easily and are harder to apply in thick, opaque coats (which is by design)
- Lighter colours — The Layer range is predominantly lighter tones designed to sit on top of darker Base paints
You can absolutely layer with Base paints (just thin them more), and many Vallejo, Army Painter, and other brand paints work excellently for layering regardless of what the label says. The technique matters more than the specific product.
Tips for Cleaner Layers
- Thin your paint — Every layer should be translucent on its own. Opacity builds up over multiple passes
- Wick excess paint — After loading your brush, touch it to a paper towel to remove excess. This prevents flooding
- Feather the edges — Where each layer ends, drag the brush lightly so the transition is soft rather than a hard line
- Work from dark to light — Always build from your darkest colour upward. It is easier to add light than to add shadow
- Consistent lighting — Paint under the same light each session so colours look consistent
- Let each layer dry — Painting over a semi-dry layer lifts paint and creates ugly marks. Wait 5-10 minutes between layers
How Do You Feather a Layer Transition?
Feathering is a sub-technique within layering where you drag your brush from the lighter area toward the darker one with decreasing pressure. As pressure decreases, the brush deposits less paint, creating a soft fade rather than a hard edge. This makes the transition between layers less visible. Load your brush lightly, apply colour to the highlight zone, then drag downward with lifting pressure. Multiple light passes create smoother feathering than one heavy one.
What Is the Difference Between Layering and Glazing?
Layering uses opaque-to-translucent paint applied in progressively smaller areas to build highlights. Glazing uses extremely thin, transparent paint applied over an existing highlight to smooth transitions and shift colours. You might layer first to create rough highlights, then glaze over the transitions to smooth them out. Layering adds colour; glazing modifies and blends existing colour.
Can You Layer with Contrast Paints?
Contrast paints are not ideal for traditional layering because they are formulated to flow into recesses rather than stay on raised surfaces. However, you can layer regular paints on top of a Contrast-painted surface. Many painters use Contrast for the basecoat and shade step, then layer highlights on top with standard Layer or Base paints thinned appropriately.
Frequently Asked Questions
How thin should I make my layer paint?
Slightly thinner than normal basecoat consistency. You want the layer to be translucent — the colour beneath should influence the final appearance. If your layer goes on fully opaque in one coat, it is too thick. Two or three thin passes of each layer colour is ideal.
Do I need to buy specific Layer paints?
No. Any paint can be used for layering if properly thinned. Citadel Layer paints are convenient because they are pre-formulated for the technique, but Vallejo, Army Painter, ProAcryl, and other ranges work equally well. You can also mix your own lighter tones by adding white or ivory to your base colour.
How do I know where to put each layer?
Imagine a light source shining from above the model (this is called zenithal lighting). Any surface facing upward receives the most light — those are your lightest layers. Surfaces facing sideways get medium light. Surfaces facing downward stay in shadow (just the basecoat and wash). This top-down approach creates natural-looking illumination.
What if my layers look streaky?
Streaks mean the paint is either too thick (leaving brush marks) or too thin in the wrong way (not enough pigment). Thin with less water and apply multiple passes. Also check your brush — splayed or worn bristles create streaks regardless of paint consistency.
How do I speed up layering for army painting?
Batch paint: do the same layer on all models before moving to the next step. Use a slightly larger brush (size 1 instead of 0) for faster coverage. Accept two layers instead of three for rank-and-file. Save detailed layering for heroes and centrepiece models.
Is layering the same as highlighting?
Not quite. Highlighting is the goal (making raised areas lighter), and layering is one technique for doing it. Layering builds highlights with progressively lighter colours over smaller areas. Edge highlighting, drybrushing and blending are other ways to highlight, and most painters mix several on one model.
Should I use a wet palette for layering?
Yes, a wet palette makes layering much easier. It keeps your thinned paint at the same consistency for the whole session, so each layer goes on smoothly instead of thickening as it dries. It also lets you mix intermediate colours and come back to them later without having to remix.
What brush is best for layering?
A size 1 or 2 round brush with a sharp point is ideal for most layering. A bigger brush holds more paint and stays wet longer, which gives smoother results, as long as the tip comes to a fine point. Keep a smaller detail brush for the final edge highlights.
Related Content
- What Is Warhammer 40k — introduction to the Warhammer 40K universe
- Warhammer Painting for Beginners — Everything You Need — essential painting guide for new hobbyists
- How Does Morale Work in Warhammer 40k? — Battle-shock Explained — related content on a similar topic
- What Are Stratagems in Warhammer 40k? — Rules Guide — related content on a similar topic