
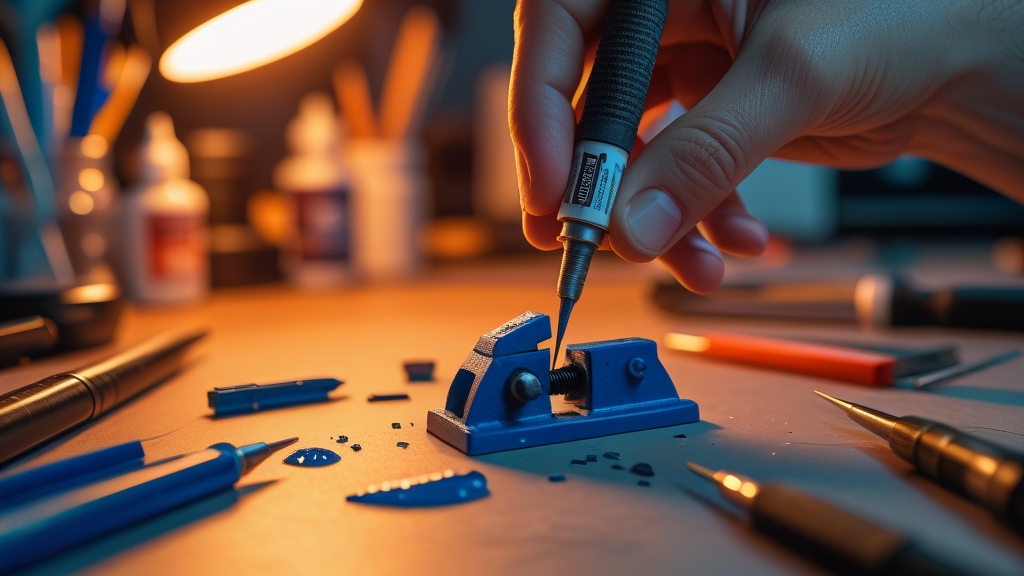
Fix broken miniatures by cleaning both surfaces, applying super glue (for clean breaks) or pinning with a brass rod and super glue (for heavy or load-bearing joins). Green stuff can fill any remaining gaps. Most breaks are repairable — even miniatures that look completely destroyed can usually be rebuilt with patience and the right techniques.
Every hobbyist dreads the sickening crack of a miniature hitting the floor or the quiet snap of a weapon breaking off during transport. But a broken miniature is not a lost miniature. With the right approach, you can repair almost any break to a standard that is invisible on the tabletop. This guide covers every common type of break — from simple snaps to complete shatters — and the techniques to fix each one.
What Do You Need to Repair Miniatures?
Before you start any repair, gather the right tools and materials. Having everything ready before you begin prevents the frustration of pausing mid-repair to search for supplies while glue dries on your fingers.
Super glue (cyanoacrylate) is your primary adhesive for repairs. Choose a thin, liquid formula for clean breaks where the surfaces fit together precisely, and a thicker gel formula for gaps or rougher joins. Gel super glue is also better for vertical surfaces because it does not run. Brand does not matter much — any hobby-grade CA glue works. Avoid the cheapest bulk options, as they often have inconsistent viscosity.
A pin vice and brass rod are essential for structural repairs. A pin vice is a small hand drill that accepts drill bits typically 0.5mm to 1.5mm in diameter. Brass rod (available from hobby shops or online) comes in matching diameters. Pinning — drilling a hole in each broken surface and inserting a brass rod to bridge the gap — adds enormous structural strength to a repair, turning a fragile glue join into a solid mechanical connection.
Green stuff (Kneadite) is a two-part epoxy putty that cures to a hard, sandable, paintable finish. Mix equal parts of the yellow and blue strips until the colour is uniform, then use it to fill gaps, rebuild missing details, and smooth over repair joins. Green stuff has a working time of about 60-90 minutes and fully cures in 12-24 hours.
Additional useful tools include a hobby knife for cleaning up broken surfaces, fine sandpaper (400-800 grit) for smoothing repairs, super glue accelerator for instant curing, plastic cement (for plastic-to-plastic joins only), and tweezers for handling small parts. A magnifying visor or lamp helps enormously with precision repair work.
How Do You Fix a Clean Break?
A clean break — where the part snaps off and the two surfaces fit perfectly back together — is the easiest repair. If the break is clean, the repair can be almost invisible. The key is preparation: both surfaces must be clean, dry, and free of old glue, paint, or debris before you apply fresh adhesive.
Start by dry-fitting the pieces together without any glue. Make sure they align perfectly. If there is old glue residue from a previous repair, carefully scrape it off with a hobby knife. Old super glue creates a barrier that prevents new glue from bonding properly. You want bare material touching bare material for the strongest possible join.
Apply a small amount of thin super glue to one surface — not both. Less is more with super glue; excess glue squeezes out of the join and creates visible residue that requires cleanup. Press the pieces together firmly and hold for 30-60 seconds. If you have super glue accelerator, a tiny spray on the outside of the join will cure the glue almost instantly.
For plastic miniatures, plastic cement (poly cement) is often a better choice than super glue for clean breaks. Plastic cement works by chemically welding the plastic — it partially dissolves both surfaces and fuses them together as it evaporates. The resulting bond is stronger than the original plastic in many cases. However, plastic cement only works on polystyrene plastic (standard Citadel kits) and does not work on resin or metal.
How Do You Pin a Broken Miniature?
Pinning is the gold standard repair technique for any break that needs to bear weight or withstand handling. Arms holding heavy weapons, models attached to their bases by a single foot, flying models on clear stands — all of these benefit from pinning. The brass rod acts like rebar in concrete, adding tensile strength that glue alone cannot provide.
Select a drill bit that matches your brass rod. For most miniature repairs, 0.8mm or 1mm rod is ideal — thick enough to provide strength but thin enough to fit inside miniature limbs and weapons. Cut a length of rod about 10-15mm long. You will drill a hole in each broken surface and insert the rod so it bridges the gap.
Mark the drilling point on each surface with a pin prick or the tip of your hobby knife. This prevents the drill bit from wandering when you start drilling. Carefully drill into each surface to a depth of about 5-7mm, keeping the drill as straight as possible. Angled holes mean the pin will not align, and the pieces will not fit together properly.
Test-fit the pin in one hole, then offer up the other piece to check alignment. If the pieces do not align perfectly, adjust the hole angle by carefully re-drilling. Once the alignment is correct, apply super glue to the pin and one hole, insert the pin, then apply glue to the exposed pin and press the second piece on. Hold until cured.
For extra strength on critical joins, use two pins instead of one. This prevents the joint from rotating around a single pin and provides redundancy if one pin fails. Two-pin joints are almost impossible to break through normal handling.
How Do You Fill Gaps After a Repair?
Even the best repair can leave a visible gap, seam, or rough surface where the break occurred. Gap filling is what turns a functional repair into an invisible one. Green stuff is the most versatile gap-filling material, but other options include liquid green stuff (for very fine seams), Milliput (another two-part epoxy), and even thick super glue for tiny gaps.
Mix your green stuff and roll a tiny amount into a thin sausage or ball. Press it into the gap with a sculpting tool or the flat of a hobby knife, working it into the seam from both sides. Wet your tools with water to prevent the green stuff from sticking. Smooth the putty flush with the surrounding surface, blending the edges so there is no visible ridge or bump.
Let the green stuff cure fully — 12 to 24 hours — before sanding or painting. Once cured, you can sand the filled area with fine sandpaper to achieve a perfectly smooth surface. If the gap was on a textured surface (like chainmail or fabric), you can add texture to the wet green stuff before it cures using a sculpting tool, the end of a brush, or even a piece of textured plasticard pressed into the putty.
Liquid green stuff — a pre-thinned version in a pot — is excellent for hairline cracks and very fine seams. Apply it with an old brush, let it dry, and repeat until the seam is filled. It shrinks as it dries, so multiple coats are usually necessary. Sand between coats for the best finish.
How Do You Fix Specific Types of Breaks?
Broken swords, spears, and thin weapons are the most common breaks and among the hardest to repair invisibly. The break surface is tiny, providing almost no glue contact area. Pinning is essential — use the thinnest rod that will fit (0.5mm) and drill carefully to avoid splitting the remaining material. Alternatively, consider replacing a broken sword blade with brass rod filed to shape or with a replacement part from a bits seller.
Broken ankles and single-foot connections are another common failure point. The model’s entire weight rests on a tiny join, and any impact will snap it. Pin through the foot into the base with a 1mm rod for a permanent repair. Drill up through the base from underneath, through the foot, and into the leg. This creates a hidden pin that is extremely strong.
Shattered models — miniatures that have broken into multiple pieces — require patience and a systematic approach. Start with the largest pieces and work your way to the smallest. Rebuild the torso first, then attach limbs, then add details. Pin every join that will bear weight. Do not rush; let each repair cure fully before adding the next piece, or the stress of handling will break earlier repairs.
Missing pieces that cannot be found can sometimes be replaced with parts from a bits box or purchased from bits sellers online. For small details like pouches, grenades, or purity seals, sculpting a replacement from green stuff is often easier than sourcing an exact match. For larger missing pieces, check whether the part is available separately before attempting a full scratch-build.
How Do You Repair Painted Miniatures?
Repairing a painted miniature adds the challenge of preserving the existing paint job. The repair itself is identical to unpainted work — glue, pin, fill — but you must then touch up the paint in the affected area to blend the repair into the surrounding finish.
Before repairing, carefully scrape paint away from the break surfaces. Paint prevents glue from bonding to the actual material, weakening the repair. Use a hobby knife to carefully remove paint from the surfaces that will be glued together, going back to bare plastic, resin, or metal. Do not remove paint from areas that will not be glued — you want to preserve as much of the original paint job as possible.
After the repair is complete and cured, touch up the paint. If you remember the colours you used, match them carefully. If not, hold the miniature under your painting lamp and try to identify the colours by comparison with your paint collection. Thin your paint slightly more than usual for touch-ups — you want to build up thin, smooth layers that blend seamlessly with the surrounding paint rather than leaving a visible ridge of fresh paint.
Super glue residue on painted surfaces can be cleaned up with a hobby knife (carefully scraping the dried glue) or with a cotton bud dipped in super glue debonder. Work carefully to avoid removing paint from undamaged areas.
Frequently Asked Questions
Is super glue or plastic glue better for repairs?
For plastic-to-plastic clean breaks, plastic cement creates a stronger bond because it chemically welds the surfaces. For everything else — resin, metal, mixed materials, gaps, or painted surfaces — super glue is the better choice. For structural repairs where long-term durability matters, pinning with brass rod and super glue is the strongest option regardless of material.
Can you fix a resin miniature that snapped?
Yes. Resin repairs are identical to plastic repairs — clean the surfaces, pin if needed, glue with super glue (not plastic cement, which does not work on resin), and fill gaps with green stuff. Resin is actually easier to pin than plastic because it drills cleanly without the bit grabbing or the material flexing.
What is the best glue for miniature repair?
Thin super glue (cyanoacrylate) for clean breaks, gel super glue for gaps and rough surfaces, and plastic cement for plastic-to-plastic joins. For the strongest possible repair, combine pinning with super glue. Brands like Gorilla Glue gel, Loctite, and dedicated hobby brands like Bob Smith Industries all work well.
How do you prevent miniatures from breaking?
Use a proper transport case with foam trays or magnetised storage. Pin heavy or protruding parts during initial assembly rather than relying on glue alone. Handle miniatures by the base whenever possible, and never grab a model by its weapons or thin extremities. These preventive measures will save you far more time than any repair technique.
Can you repair a miniature that was stepped on?
Usually, yes. Even severely crushed miniatures can often be rebuilt by carefully straightening bent parts (using hot water to soften plastic), re-gluing broken pieces, pinning structural joins, and filling gaps with green stuff. The repair may require repainting the entire model, but the miniature itself is rarely a total loss. Collect all the pieces — even tiny fragments — as they may be useful during reconstruction.
Can you fix a broken metal miniature?
Yes. Metal miniatures are best repaired with super glue and a brass pin, because the joins are smooth and the models are heavy. Plastic cement will not work on metal. Score or roughen both surfaces lightly for better grip, drill and pin anything that bears weight such as arms, weapons or ankles, then fill any gap with green stuff before touching up the paint.
How long should a repair dry before painting?
Give a super glue repair a few hours, and ideally overnight, before you paint or handle it much, even though it grips in seconds. If you filled gaps with green stuff, wait the full 12 to 24 hours for it to cure, then sand it smooth before priming. Painting too early can weaken the join or leave soft putty that marks easily.
How do you straighten a bent plastic or resin part?
Soften the part in hot water, gently bend it back into shape, then dip it in cold water to set it. This works for bent plastic spears, swords and banner poles as well as warped resin. Don’t use boiling water on thin parts, and support the piece while it cools. If a part is cracked as well as bent, glue or pin it after straightening.