
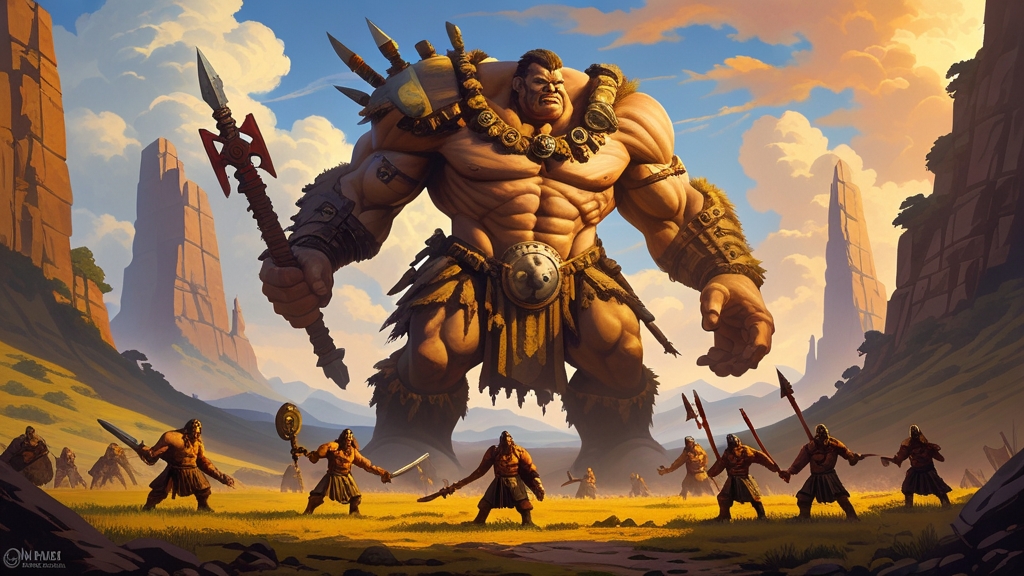
Part of our Sons of Behemat hub: every Sons of Behemat guide, lore page and painting tutorial in one place.
Learning how to paint Sons of Behemat is a different challenge from most Age of Sigmar armies. A whole army is only a handful of enormous models, so instead of batch-painting dozens of infantry you are painting huge areas of skin, cloth, rope and loot. This guide covers the paints and tools you need, a step-by-step recipe for the classic warm skin and leather loincloth scheme, and three alternative skin and accent schemes with actual paint lists.
Essential Paints and Tools for Sons of Behemat
Gather everything before you start. Here is the shopping list for the classic warm skin and loincloth scheme used in the step-by-step guide below.
Citadel Paint List
- Primer: Wraithbone
- Base/Skin: Guilliman Flesh (Contrast) or Bugman’s Glow base
- Loincloths and leather: Mournfang Brown
- Details: Zandri Dust for ropes, Steel Legion Drab for straps
- Washes/Shades: Reikland Fleshshade for skin, Agrax Earthshade for cloth
- Highlights: Kislev Flesh for skin, Ushabti Bone for cloth
- Basing: Stirland Mud with trees and rubble
Recommended Tools
- Brushes: A Size 1 Layer brush for detail work, a Large Base brush for the big skin areas, and a Medium or Large Dry brush for drybrushing
- Palette: A wet palette keeps paint workable for longer, which helps when you are covering a lot of skin in one sitting
- Water pot: Two pots, one for rinsing and one with clean water for thinning paints
- Hobby knife and clippers: For cleaning mould lines before you prime
- Plastic glue: The Gargant kits are multi-part plastic, so plastic glue gives the strongest joins on the heavy limbs
Step-by-Step Painting Guide: Classic Sons of Behemat Scheme
Follow the steps in order, as each one builds on the last. We use a Mega-Gargant as the reference model, but the same recipe works for Mancrusher Gargants.
Step 1: Preparation and Priming
Clean mould lines with a hobby knife, paying particular attention to the big smooth muscle areas, where a missed line shows up badly once washed. Consider painting in sub-assemblies: leaving the head, the weapon arm and any large hanging loot or bags off until they are painted gives you much better access to the chest, face and loincloth. The Mega-Gargant kit builds a Kraken-Eater, Gatebreaker or Warstomper, so decide on your build before gluing.
Prime with Wraithbone. Spray in short bursts from about 20 to 30 cm away, rotating the model between passes. Two thin coats are better than one heavy coat, and on a model this size it is easy to over-spray the recesses. Allow at least 30 minutes to dry before handling. A warm, light primer helps the skin stay bright and saturated.
Step 2: Base Colours
Work from the largest areas to the smallest. Thin your paints with a little water, roughly two parts paint to one part water, until they flow smoothly without brushstrokes.
Start with the skin using Guilliman Flesh (Contrast) or Bugman’s Glow. If you use Contrast, work one area at a time (an arm, a leg, the torso) and keep a wet edge, because Contrast dries with tide marks if you stop halfway across a large flat area. Next, paint the loincloth and leather with Mournfang Brown. Finally, pick out the smaller details: Zandri Dust for ropes and Steel Legion Drab for straps.
Step 3: Washes and Shading
Apply Reikland Fleshshade to the skin and Agrax Earthshade to the cloth. On a Gargant, a recess wash is usually better than an all-over wash on the skin: the muscle areas are so large that an all-over wash tends to pool and dry patchy on the flat surfaces. Let the wash run into the muscle definition, knuckles and face, and use a clean damp brush to wick away any pooling.
Let the wash dry completely before moving on, at least 15 to 20 minutes. Rushing this step is the most common mistake painters make.
Step 4: Layering and Highlighting
Once the washes are dry, bring back the brightness with Kislev Flesh on the skin and Ushabti Bone on the cloth. On skin, place the highlight on the raised muscles, knuckles, cheekbones, brow and the bridge of the nose. Build up gradually; it is easier to add more than to take it away. On the cloth, catch the tops of the folds and the frayed edges.
Large skin areas are where Gargants are won or lost. If the highlight looks stripy, thin it further and apply two or three glaze-like layers, or soften the transition with a thin glaze of Reikland Fleshshade over the join.
Step 5: Special Details and Effects
Gargants are mostly skin, so small touches make them look alive. Glaze thin red (a Bloodreaver Flesh Contrast thinned with Contrast Medium works well) onto the nose, ears, knuckles, knees and any scars. Add tattoos or war paint with a thinned dark blue-grey, as covered in the FAQ below.
For weapons, chains and loot: base with Leadbelcher, wash with Nuln Oil, and highlight the edges with Stormhost Silver. Wooden clubs, beams and hafts can be painted with Mournfang Brown, washed with Agrax Earthshade, and highlighted with Baneblade Brown. Treat the uprooted trees, ship parts and buildings on the models as mini dioramas: they add colour without much extra work.
Step 6: Basing
Apply Stirland Mud with trees and rubble to the base. Once dry, paint the rim with Abaddon Black or Steel Legion Drab for a clean finish. Next to a Gargant even a large base looks small, so a few crushed walls, broken fences or a tiny fleeing figure sell the scale better than lots of tufts.
Alternative Colour Schemes for Sons of Behemat
The Gargant tribes (Takers, Stompers and Breakers) aren’t tied to official colour schemes, so the easiest way to give an army its own identity is to change the skin tone and one accent colour. Each scheme below uses the same steps as the main guide; only the paints change.
Taker Tribe — pale skin with blue war paint and gold loot
- Primer: Wraithbone or Grey Seer
- Skin: Rakarth Flesh base, Reikland Fleshshade in the recesses, highlight Pallid Wych Flesh
- War paint: thinned Kantor Blue, glazed with Drakenhof Nightshade
- Loot and trinkets: Retributor Armour, Reikland Fleshshade, highlight Auric Armour Gold
- Cloth: Rhinox Hide, Agrax Earthshade, highlight Gorthor Brown
Stomper Tribe — muddy, earthy brown tones
- Primer: Wraithbone
- Skin: Darkoath Flesh (Contrast), drybrush or highlight Kislev Flesh on the raised muscles
- Cloth and leather: Gore-grunta Fur (Contrast), highlight Tuskgor Fur
- Mud: stipple Stirland Mud or Rhinox Hide up the legs and feet
- Ropes: Skeleton Horde (Contrast)
Breaker Tribe — scarred, weathered skin with siege debris
- Primer: Wraithbone
- Skin: Cadian Fleshtone base, Reikland Fleshshade, highlight Kislev Flesh
- Scars: thin lines of Pallid Wych Flesh, with a fine Bloodreaver Flesh glaze around them
- Stone debris: Mechanicus Standard Grey, Nuln Oil, drybrush Administratum Grey
- Dust: a light drybrush of Terminatus Stone on the feet, fists and any rubble
Speed Painting Sons of Behemat for Tabletop Standard
Because the army is so small in model count, the quickest route to a finished force is to get the skin done well and fast. Prime Wraithbone, then use a skin Contrast paint (Guilliman Flesh or Darkoath Flesh) one section at a time. A single drybrush of Kislev Flesh over the muscles, then Contrast on the cloth, leather and ropes, gets a Gargant to a solid tabletop standard surprisingly quickly.
If you are painting several Mancrusher Gargants, paint them side by side, applying each colour to every model before moving on. You can always come back later for edge highlights, tattoos and the red glazes. A fully painted army at tabletop standard looks better on the table than one perfect Gargant and two grey ones.
Painting Mancrusher Gargants vs Mega-Gargants
The Sons of Behemat range is all giants, so the main difference is scale.
Mancrusher Gargants: These are your most numerous models. Keep them consistent with each other and treat them as a set, using the speed approach above. Give each a slightly different detail (a tattoo, a scar, a different loincloth colour) so they don’t look like copies.
Mega-Gargants: These are your centrepieces and the models opponents will look at most. Spend extra time on the face, hands and chest, add extra highlight layers and glazes on the skin, and pay attention to the details on the base and loot. An airbrush is useful for smooth skin gradients across such large areas, but a careful brush and thin glazes get there too.
Frequently Asked Questions
What primer should I use for Sons of Behemat?
Wraithbone is the recommended primer for the standard warm skin scheme, as it gives a bright, warm undertone for flesh paints and Contrast. Grey Seer works for paler or cooler skin. Chaos Black is only worth it if you are going for very dark skin, as lighter skin tones take many coats to cover it.
How long does it take to paint a Sons of Behemat army?
It depends on your experience and the standard you are aiming for. As a rough guide, a Mancrusher Gargant takes a few hours to reach tabletop standard, and a Mega-Gargant takes longer, often 5 to 15 hours with careful skin work. Because a Sons of Behemat army has so few models, it is one of the quicker Age of Sigmar armies to finish in total.
Can I use Contrast paints for the entire Sons of Behemat army?
Yes, Contrast works well over Wraithbone, especially for skin, cloth, leather and rope. The main thing to watch is the large smooth skin areas: work one section at a time so the paint doesn’t dry with tide marks, and follow up with a drybrush or layered highlight. Use traditional metallics for weapons and loot.
What are the best brushes for painting Sons of Behemat?
A large base brush is more useful than usual, because so much of the model is skin. A Size 1 detail brush handles edge highlights and most details, and a Size 0 or 00 is useful for eyes and teeth. A medium or large dry brush is essential. A quality sable detail brush, such as a Winsor and Newton Series 7, holds a sharp point for longer than most synthetics.
How do I strip paint from Sons of Behemat models if I make a mistake?
Soak the plastic models in isopropyl alcohol (90 percent or higher) or a dedicated miniature paint stripper for 12 to 24 hours, then scrub gently with an old toothbrush. This removes acrylic paint without damaging the plastic. Test on a spare part or sprue first if you are unsure about a product.
Should I varnish my painted Sons of Behemat models?
Yes, for any models you plan to game with. Gargants are heavy and get picked up by their arms and heads a lot, so the high points rub quickly. Apply Munitorum Varnish spray or a brush-on matte varnish. For extra durability, apply a gloss varnish first, followed by matte over the top for the final finish.
What colour scheme should I use for Sons of Behemat?
Most Sons of Behemat schemes are built around the giants’ skin, with earthy loincloths, leather and rope as secondary colours. Pick the skin tone first (pale, tanned, ruddy or even blue-grey), then one strong accent colour for cloth or war paint so the huge models don’t look flat. Their bases are small next to the model, so keep basing simple.
What are the best skin paints for Gargants?
For a warm, tanned skin, base Bugman’s Glow or Cadian Fleshtone, shade with Reikland Fleshshade and highlight with Kislev Flesh, as in the main scheme. For speed, Guilliman Flesh or Darkoath Flesh Contrast over Wraithbone works well on large muscle areas. Thin glazes of red on noses, knuckles and knees make the skin look more alive.
How do I paint tattoos and war paint on Gargants?
Sketch the design lightly with a thinned dark colour first, then fill it in with two or three thin coats so it sits in the skin instead of on top of it. Blue-grey and red-brown tones look most like ink. A light glaze of the skin colour over the finished tattoo helps it blend in.
Ready to explore more about this faction? Check out our Sons of Behemat army guide for the army’s background, units and how it plays.
Related Content
- Warhammer Painting for Beginners — Everything You Need — essential painting guide for new hobbyists
- Best Paints for Warhammer — Complete Comparison Guide — recommended paints for Warhammer miniatures
- Object Source Lighting (OSL) — Complete Miniature Painting Guide — related painting technique and tutorial
- Drybrushing Tutorial — Fast Painting for Warhammer — popular drybrushing technique tutorial